Hi!
As I said im building up a O&G army. Well this odysee will take a bit. because I dont want a dipped army. So I will show you my work in progress on my 40 nightgoblins mob. I want that every little gobbo is still unique. I startet with a reddish brown, and highlighted the cape with an old GW paint - Ruby red. Then I painted freehands with an dark orange on their capes. Its like Zen and the art of painting a Goblin Mob. there is still a lot to do and no end in sight.
On the other side of my workbench there is a GW Ghorgone, a very tall model im doing for a commission. I´m shure that guy will never put this model on the gaming table, because it's not very good in battle. This one is great for painting Skin though. Here I can practice with my airbrush. On the model I just did some pre shading. I also will paint his head first so he is decapitated at the moment.
I also have new ideas for my next showcase project. On a hiking trip last week I found this skeletal flower. I´m not sure but think it's a thistle. I want to combine it with the concubine from Hasslefree on the base. Maybe i will build up a dryad or something similar.
So lets tidy up my workbench so work can continue. see ya!
Monday, September 9, 2013
Exploring BeeSPutty - The Story goes on!
posted by Hddvh
Hello there!
Just a quick post today.
Right now the sketch of my recently showen sculpt is hardening in the oven. I thought I might share some pictures of my current progress with you while I have to wait for this process...
I've used BeeSPutty here. A new sculpting putty which I really like. tbh I don't have a lot of experience when it comes to sculpt complex figures with different putties, but I'm really satisfied with the characteristics of this one. Something I'll definitely stick to!
- - - - - - - - - - - - - - - - - - - - - - - - - - - - - - - - - - - - - - - - - - - - - - -
Stay up2date! If you like this article be follower of Miniature Fairy Tales and subscribe and / or like our Facebook page.
Sunday, September 8, 2013
Weekly Digest #1
posted by Hddvh
Stay up2date! If you're not yet a follower of Miniature Fairy Tales you should subscribe and / or like our Facebook page.
- - - - - - - - - - - - - - - - - - - - - - - - - - - - - - - - - - - - - - - - - - - - - - -
Welcome to my first episode of
Weekly digest!
A biweekly summary of links guiding you to great tutorials, product reviews worth a look, breath takingly painted miniatures, interesting sculpts and awesome inspirational sources.
To be honest, it's not an idea of mine but of Adam Stefańczyk. He has been collecting a lot of hot links for us on his polish blog. Sadly most of us are not able to read his content without using a translator like google. You can find his lastest collection right here. So I've decided to start something very similar to his weekly report and bring you a summary of what happened the past weeks on every 2nd Sunday.
Inspirational
- Den of Imagination promo videoA nice insight into our hobby and the work of those crazy guys!
-
Pictures of a drowned city with a post apocalyptic touch. Very inspirational!
- Warriors of all kinds - A Facebook Art-Page
Tutorials & Reviews
- Check out the Winter White Wash Camo tutorial over on the 5th dimension.If you ever wanted to know how to achieve these supercool white weathered vehicles you should check this tutorial.
- Painting a dragon from start to finish by Studio AkaransethWhat a bummer! A great step by step article about painting one of the dragons from Darksword Miniatures.
- Skink priest step by step by SproketHere's part 1 of David's upcoming articles how he's painting one if the currently most famous miniatures: The GW Skink Priest
- Vehicle painting an Weathering Workshop with Farbfanatiker by (T)RaumschmiedeHere you can find the impressions of a special workshop held by Farbfantiker. He taught his students to paint and weather a tank within a short time to obtain a geat result.
-
An interesting call to promote and sell your painted miniatures. I'd highly recommend to send an email to Martin if you want to push the highest bid up in the sky (better talking of a more realistic price worth your effort)
-
Another great tutorial, this time it's all about painting leather in a very realistic way.It's really worth a look!
Hot miniatures
- Cpt. Gruumshak by Thomas Wasch
- Chaos Dwarf Unit by Sergey Gybin
- Allariel the Everqueen by Lan Studio
- Toms tree house by HonourGuard
- Swordmasters of Hoeth by Volomir
- You shall not pass! By HonourGuard
- Ogre #3 by Karol Rudyk
- The Knightmare by Thomas David
- Meadow of Doom by fantasygames.com.pl
- The Barbarian Dude by Divaz
- Brom (Hard Bark) by Honour Guard
- Vezdekhod 47 by Darkmessia
- Beastmen Unit by Trovarion
- Kroot Collector by Trovarion
- Morglum Necksnapper by dahu
- Larry Elmore’s Dragon by Mathieu Fontaine
Sculpts
- Gandalf 30mm - Knight Models
- Demon Tzzzn (LeBen Studio Miniatures)
- Fight or Flight (Full Scratchbuild by Chris Clayton)
- Raf Grassetti's digital sculpture
If you've found any article, miniature or inspirational pictures feel free to contact me so I can add it to the next weeks episode of weekly digest!
- - - - - - - - - - - - - - - - - - - - - - - - - - - - - - - - - - - - - - - - - - - - - - -
Stay up2date! If you're not yet a follower of Miniature Fairy Tales you should subscribe and / or like our Facebook page.
Friday, September 6, 2013
WIP: Grey Knights Terminator Squad
posted by p1per
Heya!
After finishing Sethin I started painting a Grey Knights Terminator squad which will be used for gaming, so keep that in mind when looking at the pictures. ;) Three are already finished and 2 more to go. You will realize that the details aren't painted yet so why am I saying they are finished? I will only be painting the armour / TrueMetallicMetal parts as part of a comission, details will be painted by the owner later on. :)
...and here are the pictures of the current 3 finished Terminators:
And as a little bonus if you like the metallics here's my color recipe:
Silver-TMM:
Top Highlight: Vallejo Air Aluminium #71.062
1st Highlight: GW Mithril Silver
Basecoat: GW Boltgun Metal
1st Shadow: Reaper Brilliant Blue #09116
2nd Shadow: P3 Coal Black
3rd Shadow: P3 Coal Black : GW Chaos Black ( 1 : 1 )
Shadows are glazed in multiple layers over the basecoat to get a smooth transition and to have matt non-reflective shadows.
Gold-TMM:
Highlights: Vallejo Game Color Polished Gold #72055
Basecoat: GW Shining Gold
Shadows: GW Scorched Brown
Same here for the shadows as with the silver - glazing multiple layers over the basecoat and getting more opaque towards the deepest shadows.
That's it so far - see 'ya soon ;)
p1per
After finishing Sethin I started painting a Grey Knights Terminator squad which will be used for gaming, so keep that in mind when looking at the pictures. ;) Three are already finished and 2 more to go. You will realize that the details aren't painted yet so why am I saying they are finished? I will only be painting the armour / TrueMetallicMetal parts as part of a comission, details will be painted by the owner later on. :)
...and here are the pictures of the current 3 finished Terminators:
![]() |
First one |
![]() |
Second one |
Groupshot 1st and 2nd |
Groupshot 1st, 2nd and 3rd |
And as a little bonus if you like the metallics here's my color recipe:
Silver-TMM:
Top Highlight: Vallejo Air Aluminium #71.062
1st Highlight: GW Mithril Silver
Basecoat: GW Boltgun Metal
1st Shadow: Reaper Brilliant Blue #09116
2nd Shadow: P3 Coal Black
3rd Shadow: P3 Coal Black : GW Chaos Black ( 1 : 1 )
Shadows are glazed in multiple layers over the basecoat to get a smooth transition and to have matt non-reflective shadows.
Gold-TMM:
Highlights: Vallejo Game Color Polished Gold #72055
Basecoat: GW Shining Gold
Shadows: GW Scorched Brown
Same here for the shadows as with the silver - glazing multiple layers over the basecoat and getting more opaque towards the deepest shadows.
That's it so far - see 'ya soon ;)
p1per
Thursday, September 5, 2013
Wip: Fairy Queen Medb
posted by Nathelis
Hi out there,
a little update on my fairy tales project for the Brushbrothers.de contest.
Spent 4 hours on smoothing the skin, not finished, but it´s a huge step in the right direction.
keep on happy painting,
Nathelis
a little update on my fairy tales project for the Brushbrothers.de contest.
Spent 4 hours on smoothing the skin, not finished, but it´s a huge step in the right direction.
keep on happy painting,
Nathelis
Wednesday, September 4, 2013
Selektorkjulu´s first strike!
posted by SelektorKjulu
Hello!
I am new at Miniature Fairy Tales. I'd like to introduce myself, my name is Jürgen, I'm 30 and I live in Lower Austria, close to the Danube. When I was still in school I collected some Wahammer 40k stuff. But due to the fact that I didn't know anyone who played at that time, I gave up on this game. Now it took me two years to get back into the hobby. At the moment I'm just building an orcs and goblin army for Warhammer Fantasy. Occasionally I play some tournaments with my dwarfs. In my opinion I´m the worst general in the Warhammer universe. The aspect of painting has always fascinated me more and I want to take a nicely painted army into battle, so I am constantly striving to deliver beautiful results. Of course there is still a lot to learn. In order to train my skills I also paint showcase miniatures. From mini to mini it gets better and better. So I show you my last figurines.
So, here is my last work. This I have completed for the Brushbrothers and Sisters Fairy Tale contest. I call it "A day in R'lyeh (Cthulhu Mythos)" Its the Bathalian from Reaper.
A lot of emotions connect me with this piece. As yet so a lot has gone wrong and I was close to tears. I used the wrong water. The plan was to pour a body of water all around. Instead of a two component artificial water I took the natural water from "Faller". Epic Fail. Bu the time I had for the contest ran out and I had to finish it quickly. Unfortunately there was also no time to sand the base, it´s just black paint over milliput. Somehow this miniature is like a piece of my soul. So for the deadline I had to face this is the optimal solution.
If you like my work, please vote on putty&paint for it:
Putty & Paint
thanks in advance
I hope you liked my first blog entry . Next time I will show you my 41 night goblins who are now on my workbench and beg for color.
See you soon
Selektorkjulu
I am new at Miniature Fairy Tales. I'd like to introduce myself, my name is Jürgen, I'm 30 and I live in Lower Austria, close to the Danube. When I was still in school I collected some Wahammer 40k stuff. But due to the fact that I didn't know anyone who played at that time, I gave up on this game. Now it took me two years to get back into the hobby. At the moment I'm just building an orcs and goblin army for Warhammer Fantasy. Occasionally I play some tournaments with my dwarfs. In my opinion I´m the worst general in the Warhammer universe. The aspect of painting has always fascinated me more and I want to take a nicely painted army into battle, so I am constantly striving to deliver beautiful results. Of course there is still a lot to learn. In order to train my skills I also paint showcase miniatures. From mini to mini it gets better and better. So I show you my last figurines.
This is a huge model. But with the help of my airbrush it wasn't so time consuming. I'm a big fan of the forest goblin models with yellow warpaint on. In the preparation of the figures I've made sure that all the little Goblins are sanded and I removed the flash. Of course it is a model which I take to battle, so not everything has to be perfect but the overall impression must be right.
A lot of emotions connect me with this piece. As yet so a lot has gone wrong and I was close to tears. I used the wrong water. The plan was to pour a body of water all around. Instead of a two component artificial water I took the natural water from "Faller". Epic Fail. Bu the time I had for the contest ran out and I had to finish it quickly. Unfortunately there was also no time to sand the base, it´s just black paint over milliput. Somehow this miniature is like a piece of my soul. So for the deadline I had to face this is the optimal solution.
If you like my work, please vote on putty&paint for it:
Putty & Paint
thanks in advance
I hope you liked my first blog entry . Next time I will show you my 41 night goblins who are now on my workbench and beg for color.
See you soon
Selektorkjulu
Tuesday, September 3, 2013
DkoK: Painting a Leman Russ Tank in winter camo
posted by Nathelis
Hi folks,
I´d like to show you how I paint my Leman Russ tanks for my DKoK Army. Since they will be fighting in a witer urban environment I decided to use the old "white wash" camo that was used during WWII. It basicly is white paint over your normal tank color, applied by the soldiers during wintertime.
Let's get started with this step by step.
1. Give the tank a light basecoat with a black primer and then apply Vallejo german panzer grey primer with an airbrush
3. Now I apply the company marking, which is a violet stripe.
4. Apply the decals you want. But first, put some gloss varnish on the area. After the decal is on apply 3-5 more layers of gloss varnish.
5. Next step is an invisible one. Spray the whole tank with AK Heavy Chipping medium and let it dry. Afterwards spray a thin white layer on the tank (with zenithal light in mind, so spray upper areas a bit more intense).
6. Now the weathering fun begins. Grab an old brush and some water and scrape the white paint randomly off the tank. On some areas you can increase the wear and tear and some other areas you might leave white. This gives a more realistic impression. After this step is finished, spray the whole tank with Satin Varnish. This is for protection of your work so far.
7. In the next couple of steps we use some more AK products. First up is the Filter blue for panzer grey, which is great for darklining all the rivets on the tank. You don't need to be overprecise right now, we will get rid of the excess filter in the next steps. So just let it flow in the recesses and again, have fun.
8. Paint rust streaks on the tank. Use a good brush with a fine tip for that. Vary the lenght of the streaks for a more realistic impression.
9. Now the magic is kicking in. We use white spirit (or odorless turpentine) to blend all the excess filter with the rest of the tank. Also blend the rust streaks while moving your brush up and down. Use just a little bit of white spirit for that, theres no need to flood the tank. After this step when the paint is dry, coat everything again with Satin Varnish.
10. The same as step 8 but only with Winter streaking grime and you can also add the streaking grime to some areas you want to modulate in color.
11. Blend with white spirit. Also I have added mud to the track and lower sections of the tank. the mud was generated by mixing Natron, AK Fresh Mud, AK Wet effects fluid and brown/grey pigments. This can then be applied where wanted and sealed with a coat of satin varnish. After the satin varnish more Wet effects can be added to make some areas appear like fresh mud.
12. Painting of the metallic parts like the Aquila on the turret. Just finishing work really. Tank driver painting etc... (Tank driver isnt painted in the example yet).
This is how a force painted with this technique can look like:
Hope you enjoyed the tutorial, if there are any questions please contact me in the comments. Also, for more in depth tutorials, visit the Blog of Mig Jimenez: http://migjimenez.blogspot.co.at/
kind regards,
Nathelis
I´d like to show you how I paint my Leman Russ tanks for my DKoK Army. Since they will be fighting in a witer urban environment I decided to use the old "white wash" camo that was used during WWII. It basicly is white paint over your normal tank color, applied by the soldiers during wintertime.
Let's get started with this step by step.
1. Give the tank a light basecoat with a black primer and then apply Vallejo german panzer grey primer with an airbrush
2. Next is the modulation of the tank, we want it be a bit lighter on the upper sides. So I use some colors of the AK interactive (only "AK" from now on) to achieve this with my airbrush.
3. Now I apply the company marking, which is a violet stripe.
4. Apply the decals you want. But first, put some gloss varnish on the area. After the decal is on apply 3-5 more layers of gloss varnish.
5. Next step is an invisible one. Spray the whole tank with AK Heavy Chipping medium and let it dry. Afterwards spray a thin white layer on the tank (with zenithal light in mind, so spray upper areas a bit more intense).
6. Now the weathering fun begins. Grab an old brush and some water and scrape the white paint randomly off the tank. On some areas you can increase the wear and tear and some other areas you might leave white. This gives a more realistic impression. After this step is finished, spray the whole tank with Satin Varnish. This is for protection of your work so far.
7. In the next couple of steps we use some more AK products. First up is the Filter blue for panzer grey, which is great for darklining all the rivets on the tank. You don't need to be overprecise right now, we will get rid of the excess filter in the next steps. So just let it flow in the recesses and again, have fun.
8. Paint rust streaks on the tank. Use a good brush with a fine tip for that. Vary the lenght of the streaks for a more realistic impression.
9. Now the magic is kicking in. We use white spirit (or odorless turpentine) to blend all the excess filter with the rest of the tank. Also blend the rust streaks while moving your brush up and down. Use just a little bit of white spirit for that, theres no need to flood the tank. After this step when the paint is dry, coat everything again with Satin Varnish.
10. The same as step 8 but only with Winter streaking grime and you can also add the streaking grime to some areas you want to modulate in color.
11. Blend with white spirit. Also I have added mud to the track and lower sections of the tank. the mud was generated by mixing Natron, AK Fresh Mud, AK Wet effects fluid and brown/grey pigments. This can then be applied where wanted and sealed with a coat of satin varnish. After the satin varnish more Wet effects can be added to make some areas appear like fresh mud.
12. Painting of the metallic parts like the Aquila on the turret. Just finishing work really. Tank driver painting etc... (Tank driver isnt painted in the example yet).
This is how a force painted with this technique can look like:
Hope you enjoyed the tutorial, if there are any questions please contact me in the comments. Also, for more in depth tutorials, visit the Blog of Mig Jimenez: http://migjimenez.blogspot.co.at/
kind regards,
Nathelis
- - - - - - - - - - - - - - - - - - - - - - - - - - - - - - - - - - - - - - - - - - - - - - -
Stay up2date! If you're not yet a follower of Miniature Fairy Tales you should subscribe and / or like our Facebook page.
Monday, September 2, 2013
Pimp my DETOLF: Dust-Proofed!
posted by Hddvh
As many of us I do own a "DETOLF" display cabinet by IKEA to show off and store my painted miniatures and those, which took a break due to other projects I prefer to finish first. It's one of the cheaper but still good looking ways to present our miniatures.
A while ago Raffa from Massive Voodoo shared his way of adding a proper lighting and a nice but cheap background. I followed his advice and bought a pair of additional lights. What a boost! Im able to see more then just painted miniatures. They started to show me their details in all their greatness :) I've pimped my display cabinet and am very proud of this little change.
But there's one point... I don't like about this cabinet. It's collecting dust. Pretty fast and a lot of that!
To be honest, I'm pretty lazy when it comes to clean my display regular. It's more like: "Wtf! Why's there so much dust all over again?!". What's following then is an extensive, time consuming process to get rid of the dust from the display boards as of the miniatures. It's also some kind of risky as I have to move every single project out of the cabinet.
As one of my brushbrothers asked me how he can get his new cabinet dust proofed i started to search for an answer. I never really thought about how to achieve this. But there's a simple solution that guarantees a 99.9% dust proofed cabinet! And best of all: It just costs me around 10€ including pp!
So, what's this cheap solution I am talking about?
It's a brush seal with adhesive backing (measuring 4.8mm base x 4mm high) attached all around the single door that prevents dust from getting inside of the display cabinet.
Dust-Proofing your display cabinet
Materials needed:
- paper tissue / Kleenex
- glass cleaner / windex
- about 6m brush seal with self adhesive backing (4.8x4mm) ((I've got mine here))
- a duster
- a pair of gloves
- a screwdriver
- a scissor
Step 1 - Empty it
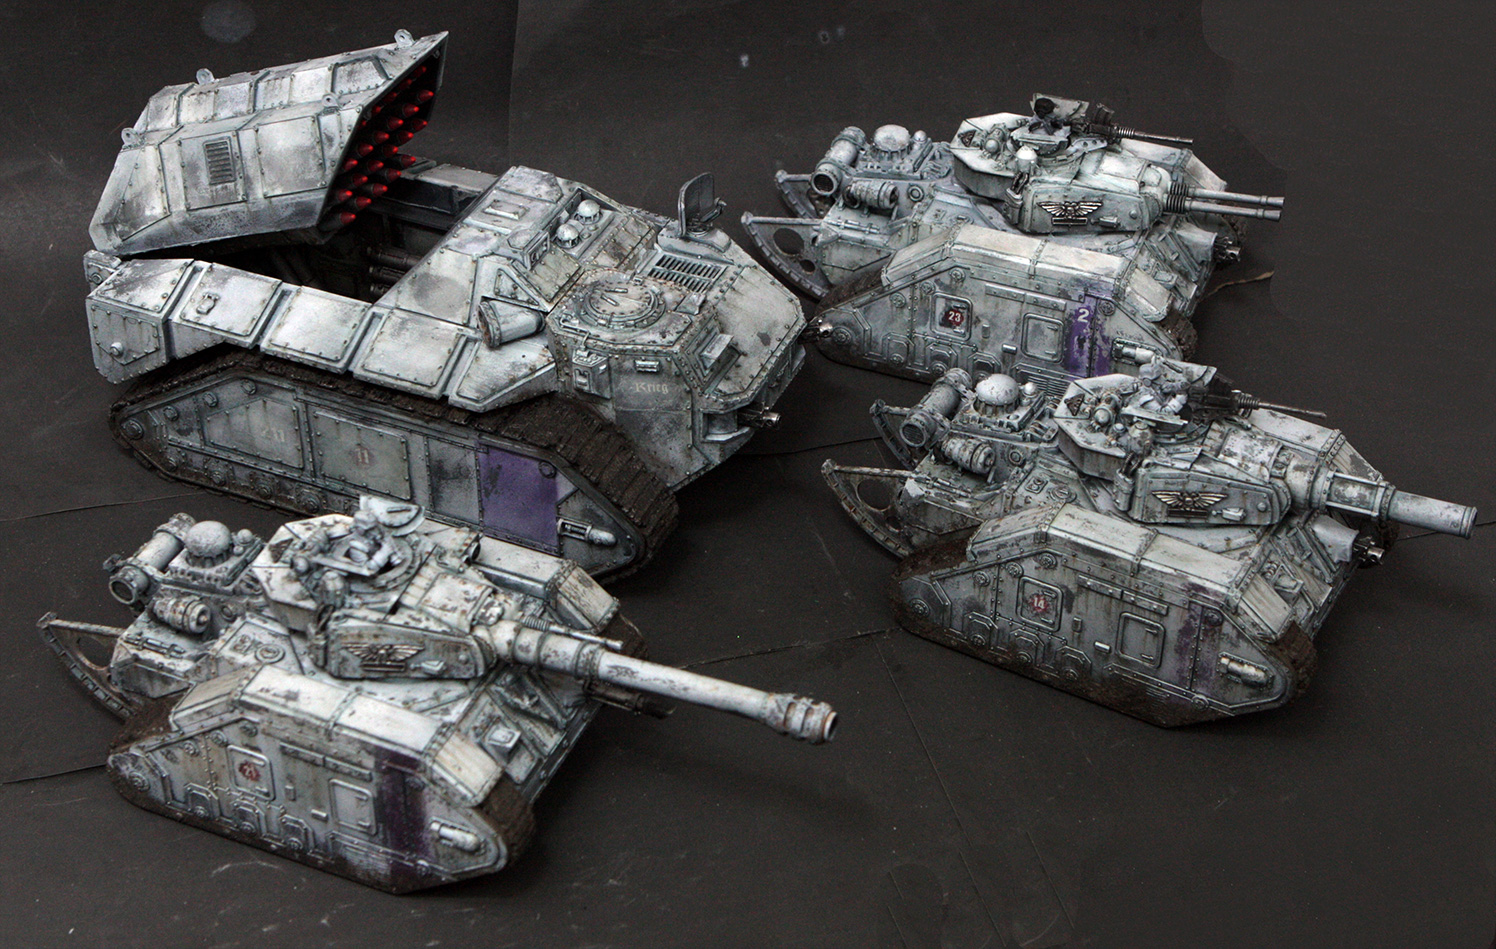
...but be careful! Handle your miniatures with care and try to avoid to drop them on the floor or to bump them on the side panels! Store them safe while you're going on with the next steps.
Here's how it looks 2 weeks after I carefully cleaned it:
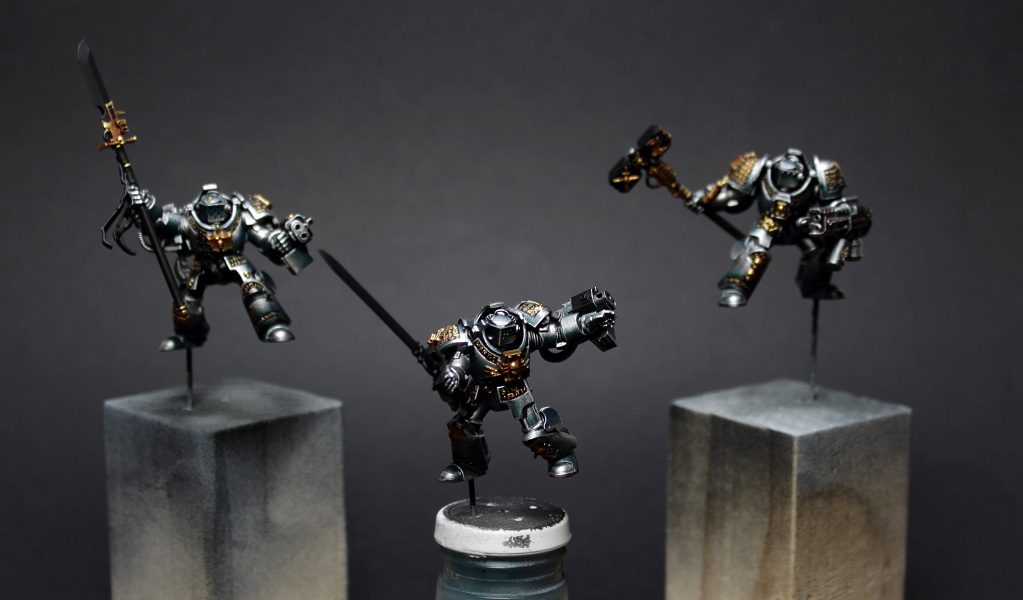
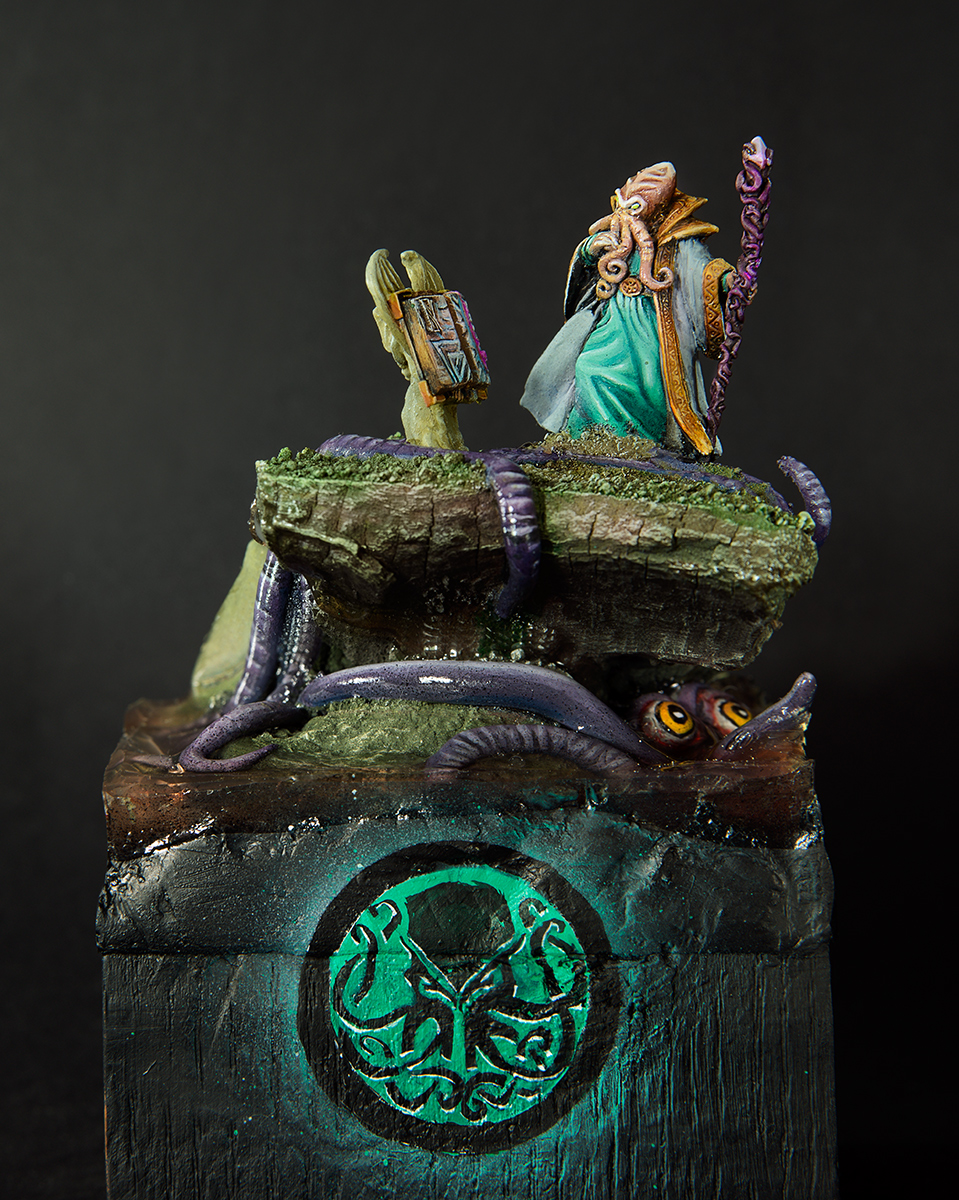
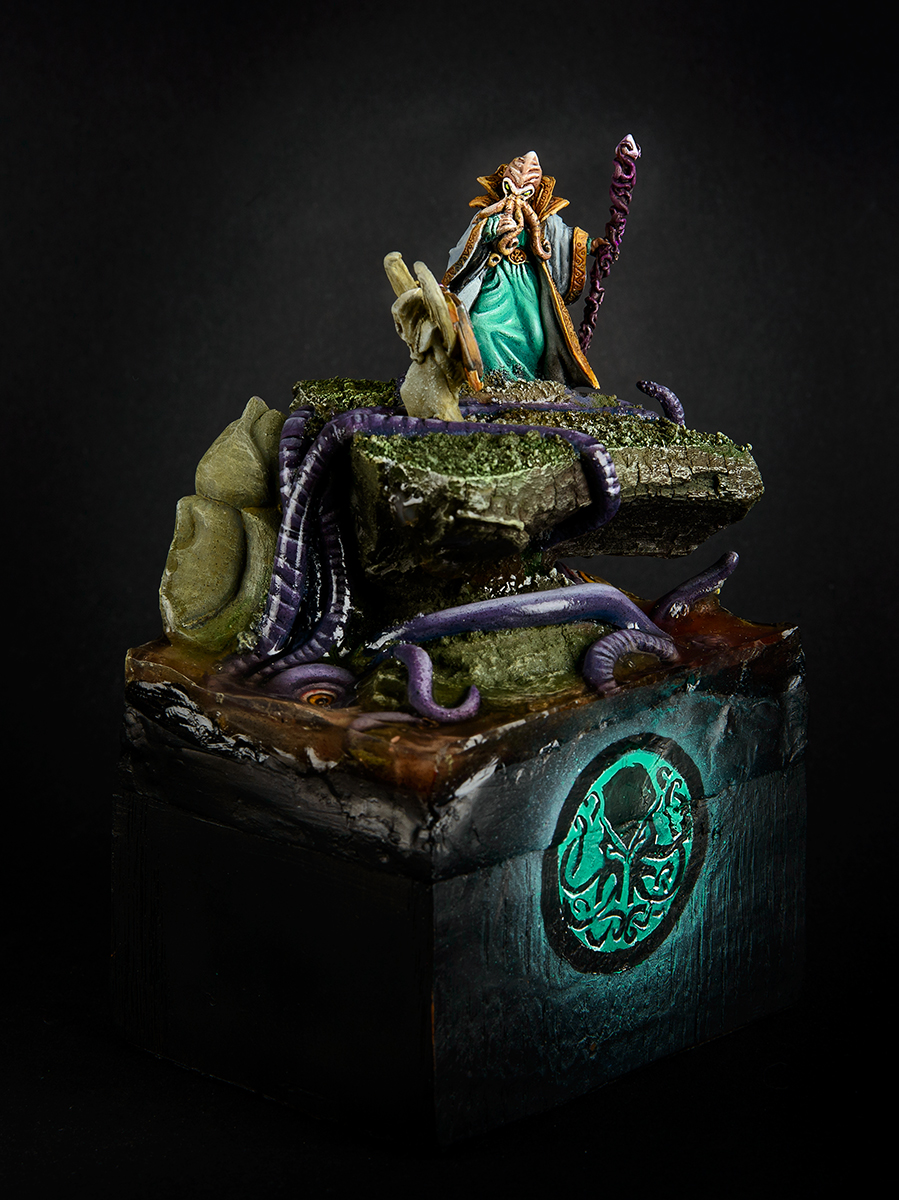
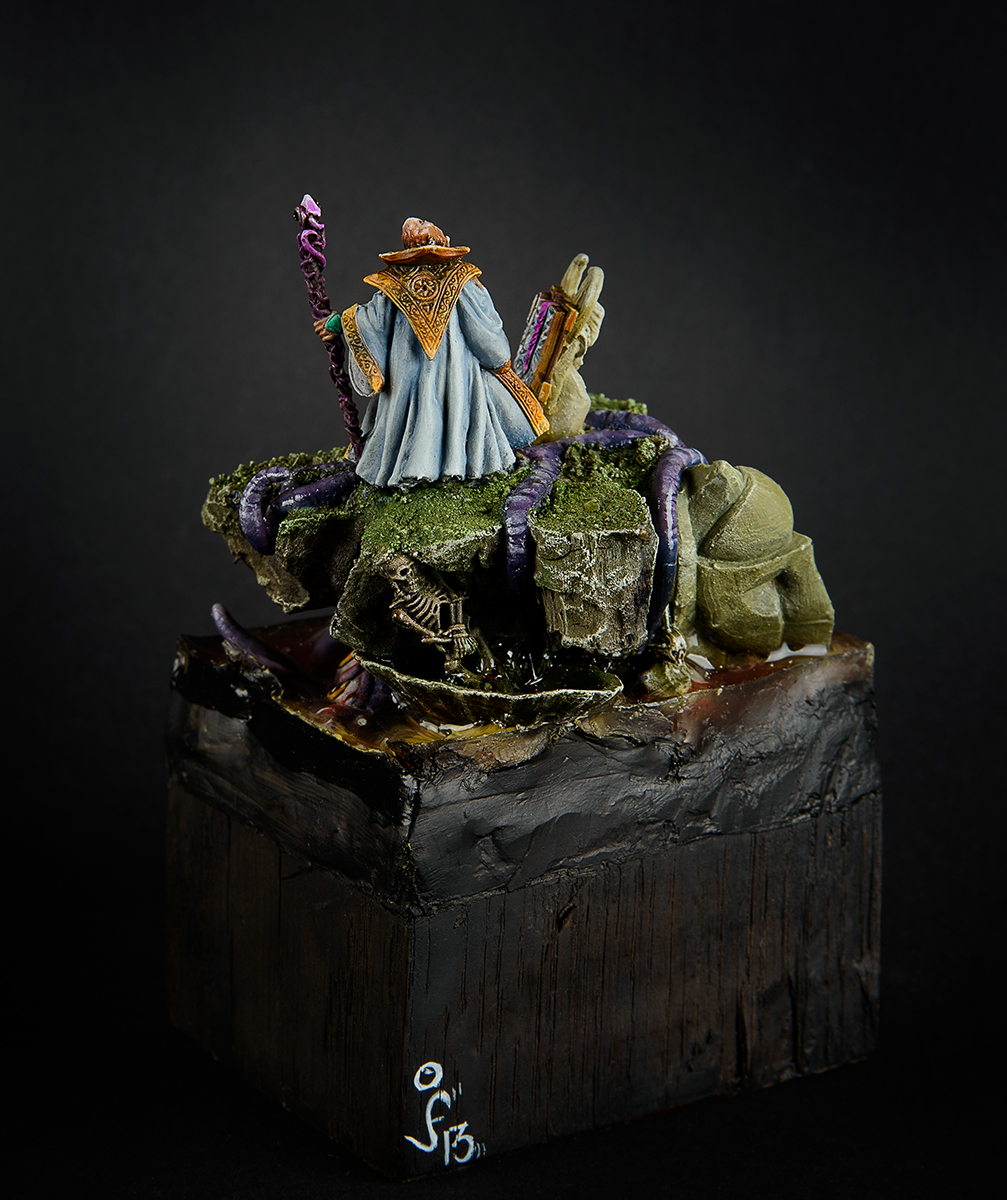
No accidents happened? Great, lets carry on then. If not... Well, it seems not to be your best day. Keep your head up, you're probably not the only one. It might have been even more worse!
Step 2 - The Cleansing
After you've removed every single miniature and stored it safely you can start removing dust and any fingerprints. Make it shiny again! This is where the gloves come in. Wear them to avoid adding new fingerprints while cleaning everything.
Don't forget to clean the edges (very important!) and outer glasses too.
Step 3 - Sealing-Preparation
As its easier to work with a lot of space it's necessary to remove the door from the display cabinet.
There are just 4 screws we have to loosen. Be careful and fixate the door while doing that with the other hand. It might fall off immediately.
Step 4 - The Sealing
Now it's time to add the brush seal all around the door. It's quiet easy as it comes with a self adhesive backing. Just work precise here as any misplaced part will be visible later.
The gaps between the door and the side panels are everything else then even. So it might be necessary to attach the brush seal on the door AND on the side panels to prevent dust from getting in there.
If you've attached the brush seal all around its time to bring back the door into its place. Adjust it by moving it some millimeters if necessary.
At this time your DETOLF should look like this:
Step 5 - Re-Organisation
Now it's time to get all your beloved projects back in place.
Again: Be careful to not bump your miniatures on any furnitures.
This is how my display cabinet is looking after this complete roll up:
The black clothing on top was used to get better photos for you. I'll definitely add something like this permanently. I'm also considering of replacing the back with a mirror. But I'm not sure about that right now.
Do you own a DETOLF too and pimped it in any way? Tell us in the comments. I'd like to gather as much ideas as possible to sum up in another article so everyone can get the most out of his display cabinet. Who knows, some day IKEA might change their DETOLF to our likes...
- - - - - - - - - - - - - - - - - - - - - - - - - - - - - - - - - - - - - - - - - - - - - - -
Stay up2date! If you're not yet a follower of Miniature Fairy Tales you should subscribe and / or like our Facebook page.
Thursday, August 22, 2013
Sethin finished
posted by p1per
Heya!
Finished a new miniature, Sethin from Rackham. In my opinion up until now one of the most beautiful miniatures ever sculpted, at least for me it's an all-time-favourite and finally I haven a painted version sitting in my display cabinet. :)
Hope you like her and if you want to vote:
Putty & Paint
CoolMiniOrNot
p1per
Tuesday, August 20, 2013
The Barbarian Dude Collection
posted by Hddvh
Aloha!
Some people added a slain beast / giant as a trophy to her base. Something that came to my mind too when I was thinking about a scenery:
It's been a while since I've posted a finished showcase project. But now I'm able to proudly present you my interpretation of the infamous Barbarian Dude.
Due to it's refreshing and for me very interesting sculpt he was sold out pretty damn fast. So I wasn't able to grab one in time. Maybe I was considering way too much if its worth my money or not. Lucky me that my best friend gave me one to my birthday! :) and what else should I've done then immediately start thinking about what to do with him.
There are plenty of gorgeous versions of this miniature, like the ones from P1per:
...or Weisern, who've used a nice contrast on his scene:
Some people added a slain beast / giant as a trophy to her base. Something that came to my mind too when I was thinking about a scenery:
And Raffa:
There's even a very simplistic version, painted by Camelson. I think his version was the first painted Dude I've seen on the www:
I knew that I am not a bad painter. But I'm also far away from being one of the top painters right now.
So my thoughts were stumbling over themselves, searching for an idea to make something different out of my Dude. One of the 350.
While I was thinking about that I was reading a great fantasy novel, written by David Gemmell. The main character in that story was a a big Dude (Druss) which probably could become my version. Inspired by this I started to think about it. In these books Druss started his journey aged 17, a simple wood worker with raw power in his arms, often describe as a bear due to his appearance.
Later he became a famous warrior searching for his robbed wife. His journey lasts several years before he was able to find her. Many stories were told about him until that moment, and even more would follow.
He became an old, wise warrior who never lost his strength.
So, here's my version of the Barbarian Dude:
Druss The Legend
(also known as Deathwalker)
"Druss is the grandson of Bardan the Slayer, a psychotic madman driven insane by the demon residing within his cursed axe, Snaga the Sender. Druss is described as a physically imposing man, immensely strong but also possessing great speed and dexterity"
I'd be happy to receive some feedback on this on especially on what I could have done better. I'm sure that I won't do any further brushstroke on this project, but it's always a good way to search for improvement for upcoming projects.
If you want to vote, you can do that right here:
Subscribe to:
Posts (Atom)